Creating professional graphics has never been easier. Thanks to Canva AI, even those with zero design background can craft stunning visuals for presentations, social media, websites, print, and more. This guide walks you through designing with Canva AI from start to finish, with practical advice, key features, and actionable tips for beginners.
1. Getting Started: Canva AI Account and Interface
Step 1: Sign Up or Log In
- Visit Canva’s website and sign up for a free account or log in to your existing account.
- Canva AI tools are included in both free and Pro plans, but Pro unlocks premium features for advanced projects.
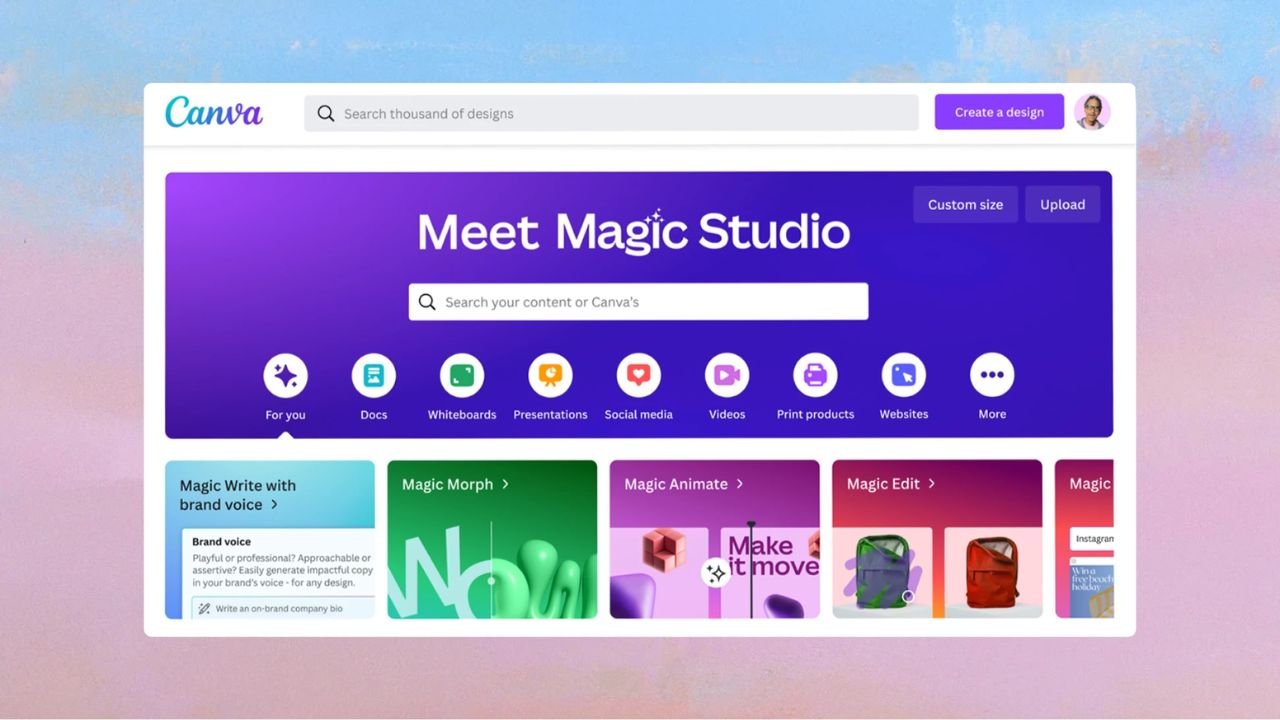
Step 2: Explore the Homepage
- After logging in, you’ll land on the Canva dashboard.
- Canva AI tools are found on the left sidebar (“Canva AI”), with quick starts for design, image, document generation, and more.
2. Canva Magic Design: Your AI Design Partner
Canva’s Magic Design is an AI-powered assistant for rapidly generating template-based graphics from your prompt or uploaded content.
Step 1: Access Magic Design
- Click “Design” in the sidebar or select “Design for me” under Canva AI.
- You can also navigate directly by searching “Magic Design” inside Canva.
Step 2: Input Your Prompt
- Be specific. Example: “Modern tech event flyer with blue theme and abstract background.”
- Magic Design will generate several template options instantly, personalized to your needs.
Step 3: Refine and Select
- Review the suggested templates, preview as needed.
- Choose the template that best fits your vision.
Step 4: Customize Your Design
- Open your chosen template in Canva’s editor.
- Change colors, fonts, images, layout, and more to match your brand or message.
- Upload your own photos, logos, and assets for further personalization.
3. Canva AI Assistant: Conversational and Interactive
Canva AI’s assistant helps generate text, answer design questions, and automate repetitive tasks.
Step 1: Initiate a Conversation
- Click “Canva AI” and start chatting or input prompts to describe what you want.
Step 2: Select the Needed Tool
- “Design for me” for visuals, “Create an image” for AI-generated art, “Draft a doc” for written content, “Code for me” for interactive elements.
Step 3: Upload and Edit Assets
- Drag and drop images or documents for AI-based suggestions and edits.
- Use voice prompts for hands-free creation.
Step 4: Fine-Tune with Feedback
- Provide feedback, tweak results, and try suggested prompts for improved designs.
- Use the editing panel for quick tweaks without leaving the creative flow.
4. Magic Tools: Morph, Animate, and More
Canva AI’s “Magic” suite supercharges your projects with unique effects and easy automation.
Magic Morph
- Transforms text or graphics with custom AI-generated textures/styles.
- Select your element, choose Magic Morph, and describe the effect (“balloon letters”, “neon glow”, etc.).
Magic Annotate
- Summarizes, rewrites, or enhances written content directly within your design.
Magic Animate
- Easily animates static designs with AI-chosen transitions and effects.
- Click “Animate” and choose “Magic Animate” — the AI handles the rest, but you can refine or remove as desired.
Magic Edit
- Instantly remove, replace, or add objects in images using simple instructions.
5. Design Types: Choose the Right Format
Pick a project type that matches your needs.
- Search or browse for common formats: Instagram post, Presentation, Poster, Business Card, Resume, etc.
- Use “custom size” for unique dimension requirements. Enter sizes in px, mm, or inches.
6. Customizing with Canva’s Editor
Layout & Structure
- Drag and drop elements: text, images, shapes, lines, icons, stickers.
- Use “Frames” for cropping and masking images in creative ways.youtube
Text
- Add headlines, subheadings, and body text.
- Explore AI-assisted writing or Magic Annotate for content generation.
- Pair fonts thoughtfully — limit to two per project for consistency.
Color & Branding
- Use the Brand Kit (with Pro) to lock in fonts, colors, logos for all company materials.
- Apply color palettes, use AI-generated suggestions for harmonious combinations.
Images & Icons
- Access Canva’s massive library of stock images, icons, shapes, and stickers.
- Upload original photography for personal touch or unique content.
- Enhance photos with AI-based background removal, object replacement, and image effects.
Visual Hierarchy
- Structure your design so the most important elements stand out.
- Use size, bolding, color, and whitespace to direct attention.
Alignment & Spacing
- Snapping guides and AI suggestions help align elements for a polished look.
- Leave enough white space; avoid clutter for readability.
7. Advanced Features for Professional Results
AI Image Generation
- Use Canva’s Dream Lab for bespoke illustrations, art, and photo-realistic images generated from written prompts.
AI Infographics & Charts
- Create data-driven visuals in seconds with AI-powered charts in Canva Sheets. Turns spreadsheet data into clean design automatically.
Video & Animation
- Generate video layouts or animated slides.
- Use Magic Design for instant video templates, Magic Animate for auto transitions and effects.
Interactive Elements
- Add clickable widgets, links, embeds for web graphics.
- Use Canva Code for simple interactive experiences (no coding knowledge required).
8. Collaboration and Workflow
- Invite team members for real-time collaboration.
- Comment, assign tasks, and track feedback directly within Canva.
- All content is autosaved and version-controlled.
9. Exporting, Sharing, and Publishing
- Download in various formats: PNG, JPG, PDF, MP4, etc.
- Publish directly to social platforms or websites from Canva.
- Share designs with a link for further collaboration or approval.
10. Tips for Non-Designers: Design Like a Pro
Use Templates Smartly
- Start with a template; customize extensively.
- Don’t overuse stock elements — blend with your own assets.
Simplicity Wins
- Avoid clutter: focus on key message, minimal distractions.
- Stick to 2-3 colors, 1-2 fonts, clean backgrounds.
Leverage AI Tools
- Experiment: Generate multiple design options before deciding.
- Use AI recommendations for colors, layouts, icons.
Learn by Doing
- Explore Canva’s Design School for quick lessons in the fundamentals.
- Practice by recreating designs you admire; iterate and improve.
Ask for Feedback
- Share designs for feedback from colleagues or friends.
- Use Canva’s collaboration tools for easy review.
11. Latest AI Innovations (2025 Highlights)
- All-in-one creative partner: design, code, docs, and more via chat or voice.
- Magic Studio used over 16 billion times, accelerating professional creativity for beginners.
- Major glow-ups: Photo Editor, Sheets, Code, widgets, interactive design tools.
- Everything streamlined into one workflow — no need to jump between tools.
12. Common Mistakes to Avoid
- Ignoring alignment and spacing: Use grid and guides.
- Clashing colors/fonts: Stick to matching combos or follow AI suggestions.
- Overwhelming pages: Respect whitespace; avoid excess elements.
- Low-quality images: Always use high-resolution photos and graphics.
13. Resources to Level Up
- Canva’s Design School: Free courses from graphic design experts on layout, hierarchy, branding, and more.
- Video Tutorials: Step-by-step lessons for beginners (YouTube masterclasses, Canva tips series).youtube+1
- AI Feature Guides: Dedicated resources and walkthroughs for each AI tool; often linked within Canva’s help center.
14. Final Thoughts
Canva AI empowers anyone, regardless of design skills, to create polished, professional graphics quickly and confidently. By following this guide, leveraging templates, and experimenting with AI features, you’ll grow from a complete beginner to a competent digital creator. Explore advanced tools when ready, but remember: simplicity, consistency, and clarity are the keys to great design.
Whether it’s your first social media post or a critical business presentation, Canva AI will help you unlock your creative potential and make visually stunning work — all at the push of a button.